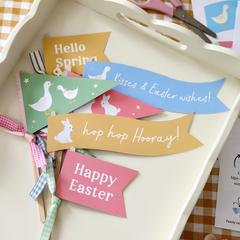
To celebrate our 10th business birthday, we turned some of our cardboard packaging into some gorgeous birthday crowns 👑
These crowns are so fun! They're perfect to make for a celebration, a birthday, a special weekend picnic. Or to add to your role play dressing up box, your story telling extras, and they're a great school holiday craft project 💛
If you have some leftover cardboard, or have recently received a lovely order from us in a cardboard envelope, you can reuse and recycle it into these birthday crowns.
Read on for the tutorial...
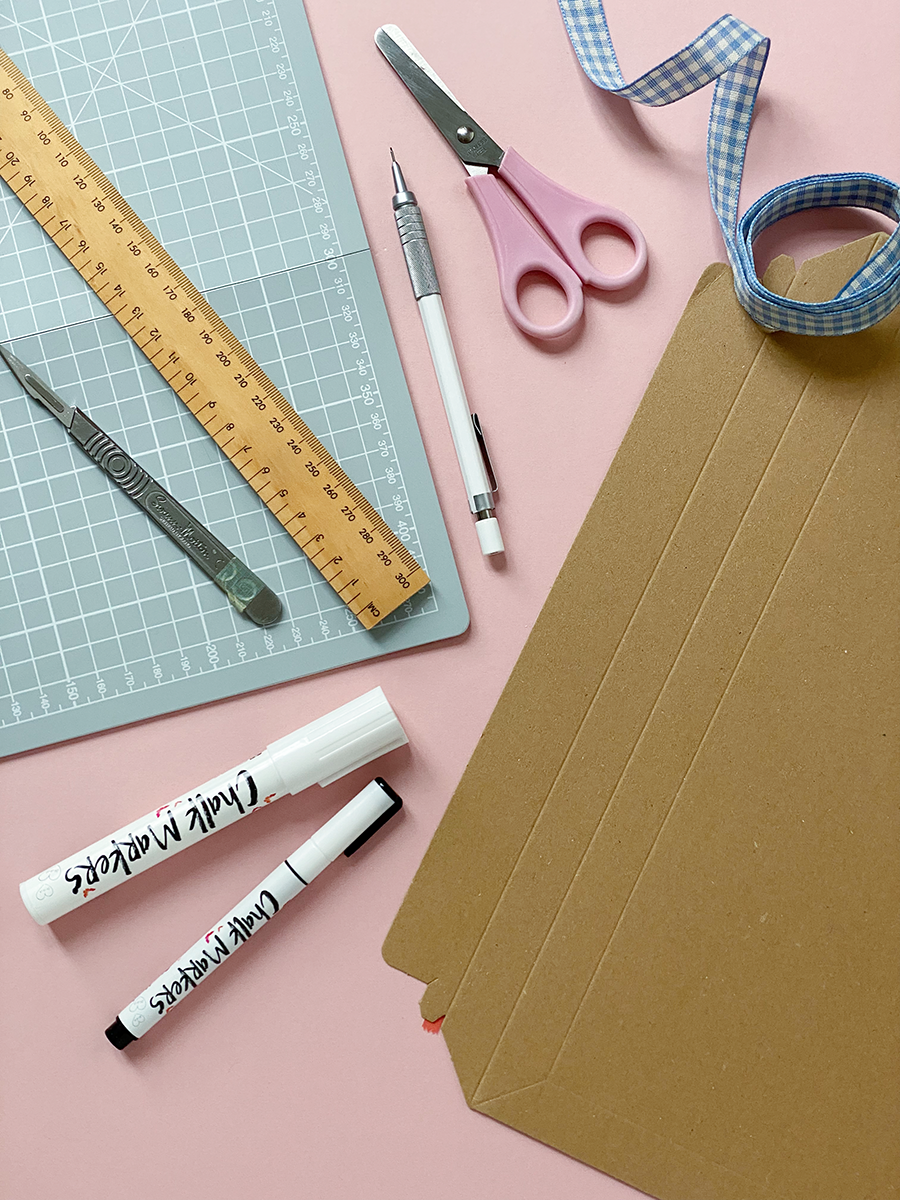
Materials:
• Cardboard
• Ribbon (approx. 80cm)
• Pencil
• Ruler
• Cutter (box cutter, scalpel, or scissors)
• Cutting mat
• Chalk pens, paints, or markers
• Birthday crown template (download here)
Packaging we used:
Large board envelope that we send our wrapping paper, prints, and card bundles out in.
Each one of these envelopes will make two crowns.

How to make it:
1. Cut the two ends off the cardboard envelope, which will give you a great folded over piece. If you're using a different flat piece of cardboard, fold it in half.
2. Print out or copy the birthday crown template provided and place it onto the fold of your cardboard. Trace around the template.
3. Cut out your crown shape, remembering to cut through both layers of cardboard, to create your full size crown.
4. Turn your cardboard over, so that you're now using the clean inside or blank side. Draw your pattern onto the crown. We've drawn a moon, stars, and the number 10 on our crown, to celebrate our 10th birthday with.

5. To copy our design, cut out the stars and moon as shown on the template. Remember to also cut out the circle in each bottom corner - these are to thread your ribbons through.
6. Use a chalk pen, paint, or other pen, to cover your crown in a pattern of delicate stars.
7. Thread and tie a ribbon through each corner circle you cut earlier. Our ribbons were approx. 40cm each.

Your crown is complete!
Crowns are great for celebrating with, for role play, and to use while storytelling. They're so versatile and so fun!

Have fun recycling your cardboard into something beautiful. And look out for our next Reuse & Recycle project soon.
Please share your creations with us on Instagram or Pinterest, we'd love to see them 💗
✂️ For more brilliant craft ideas for toddlers and children head to our Reuse & Recycle page.
✂️ Or have a browse of our Pinterest boards for even more craft and play ideas.