Solar System Project: Building our own solar system diorama school project
When Matilda came home from school with a sheet of home learning challenges last week she actually squealed when she read "make a solar system". Not surprising really - they are super amazing models to make . And seriously fun :)
So we got our google on, found a brilliant tutorial on the Hobbycraft website, and got to work.
Here's how we did it, in case it helps you for your solar system school project...

Materials needed for your Solar System Model:
- some polystyrene balls in different sizes
- a large cardboard box
- acrylic paints (including metallics)
- wooden skewers
- glue gun & glue

How to make your Solar System Model:
Matilda started off by painting the polystyrene balls to look like the planets.
Tiny balls for the tiny planets, larger ones for planets like Saturn and Jupiter. She used acrylic paints as a base, roughly mixed together with metallic paints to give a lovely colour effect.

A couple of top tips:
- Use the wooden skewers in your polystyrene balls to give you a handle while you paint them
- You don't need to be amazing at painting - we found a technique that is easy and really effective. Load your paintbrush with paint, and hold it to the 'planet' while spinning the skewer. It gives a brilliantly gently striped effect which is pretty perfect to represent so many of the planets.
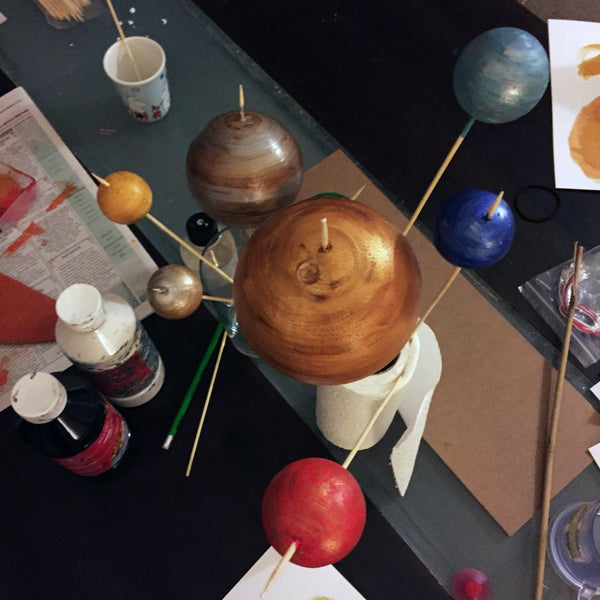
As each planet is painted leave it to dry.
A roll of kitchen roll and a tall glass are handy things to stick the skewers into while the paint dries.
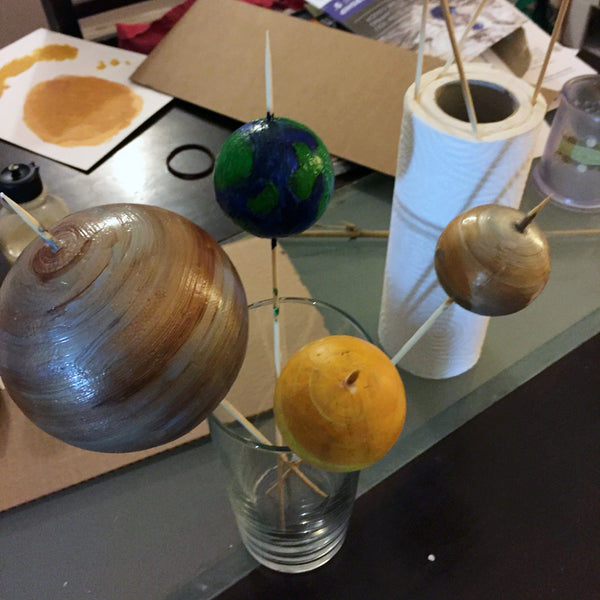
The spinning effect works really well for Jupiter, especially if you mix some gold and silver in there.

Matilda painted a thin piece of card for Saturn's rings. The inside diameter matched the diameter of the polystyrene ball.
Once it was dry she used a glue gun to attach it to the planet.
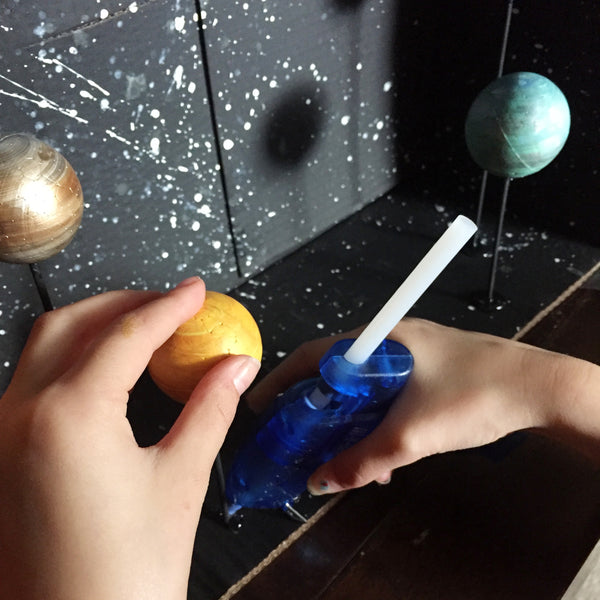
While all of the planets were drying she painted the inside of the large cardboard box black. We left this to dry overnight.
The next morning she painted the stars. This was super fun - she literally flicked white paint at the box using a large paintbrush. Outside ;)
And then did another layer of flicked paint with some glow in the dark paint - not essential but a brilliant extra element. It was a really effective (and quick) way of doing it.

Next up was the assembly.
Matilda is an absolute whizz with a glue gun. We've got one of those cool melt glue guns so I feel pretty confident letting the kids use it themselves.
Rather than follow the Hobbycraft instructions here we went our own way. Instead of hanging the planets we painted the skewers black, glued them into the planets, and used those as posts.

Each planet was glued into place on the base of the box. It's a bit of a squeeze depending on what size box you have. We cut the skewers down to different heights to fit them all in - plus it made a really effective composition.
Oh and Matilda made a little moon attached to Earth too. She used a little wooden bead painted silver for that.

Rather than make the Sun out of a polystyrene ball we used a piece of cardboard cut into a semi circle, painted, and attached to the inside left of the box. We thought it better represented the size of the sun in comparison to the planets. Still way off, but you get the idea :)

Matilda learnt SO much about planets and the solar system by making this. A lot about art, design, and construction too.
And it was seriously fun to make <3

So don't be daunted when your next school project is to make a solar system. It's a lot easier than it looks, I promise!
Didn't she do brilliantly?!
✂️ For more brilliant school project and craft ideas for children head to our Reuse & Recycle page.
✂️ Or have a browse of our Pinterest boards for even more school project, craft, and play ideas.


